
Looking for some bujo inspiration for your next weekly setup? I’m sharing 6 simple bullet journal weekly spread layouts to help you with your next bullet journal setup.
Can’t decide what layouts to use in your bujo? Watch this video and see my favorite weekly layouts.
Watch The Video:
p.s. – On the right side in the video you can see some older spreads that I made with these layouts if you want to try them out.
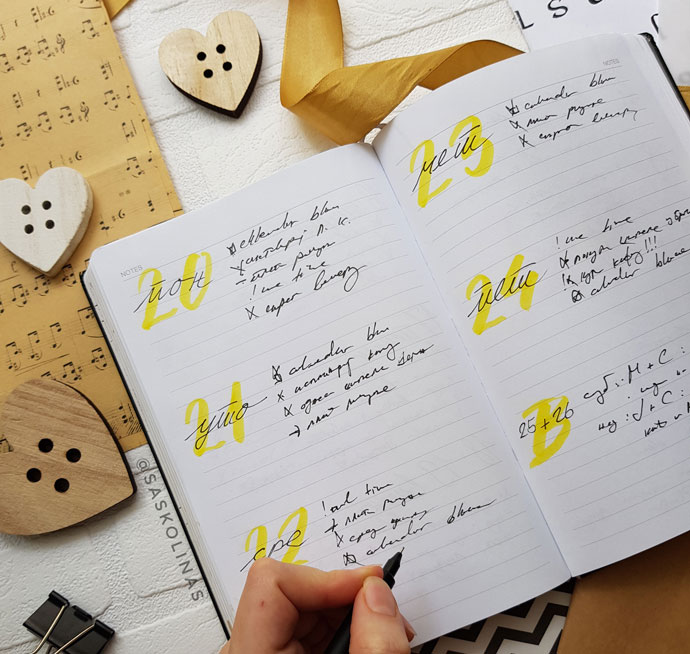
1 – Separate Events & Small Wins of the Day

1st layout is my favorite for times when I have a lot of events and I don’t want to forget them.
In this layout I’m usually using my brush pen to write days of the week and on the left side of the left page I’m incorporating events column, to see them well-organized and on the right side of the right page of this weekly I’m using a column to log small wins of the day, when I feel like that day wasn’t the best.
I’m only focusing on making the basic layout, and from that step you can do whatever you want.
2 – 3 Rows
Next one is a row-based layout where the only thing that we have to do is to merge the whole weekend into one row, so we can end up with 3 rows.
In the video, I’m trying to replicate my old weekly but it wasn’t my best day – so the numbers look slightly weird, but it’s still good. The key focus of this layout is to larger sections for writing out your tasks, events and reminders.
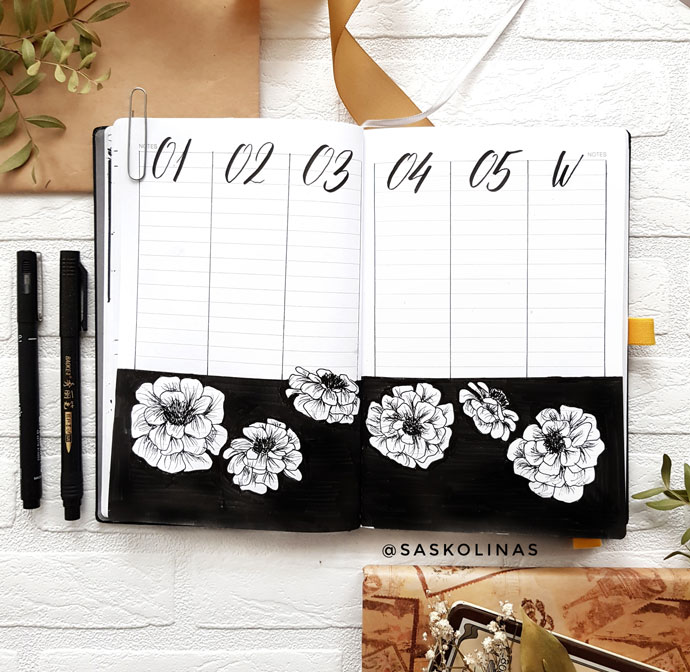
3 – Grid-Based
Grid layout was my absolute favorite when I first started bullet journaling and I just can’t avoid it. it took a huge part in my very first bullet journal, so I’m incorporating it in this list.
It’s a grid-based layout, where you have rectangular sections which are a really simple way to track your whole week.
4 – Column-Based
My new favorite is this one – a column-based layout which looks soooo good. I can’t imagine a month without this one now. In the video, I’m making a really simple version with numbers for days of the week and I’m taking the full length of the page for my bullet points . It’s perfect if you prefer rapid logging or when you’re travelling and you want to take some quick notes too.
5 – Row Based
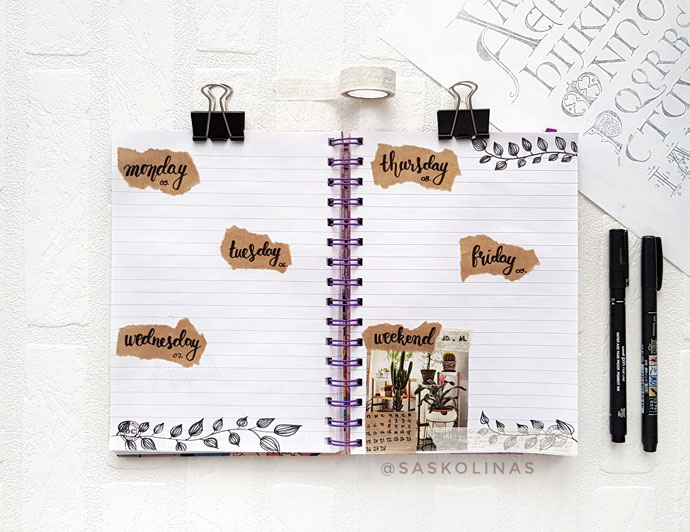
Next one is a more free-row-based layout where you can do whatever you want. Place everything in one page, use half of the spread to sketch something if you feel inspired, make a zig-zag layout, whatever you need. In the video I’ll be using a separate space for every day with larger sections for weekdays.
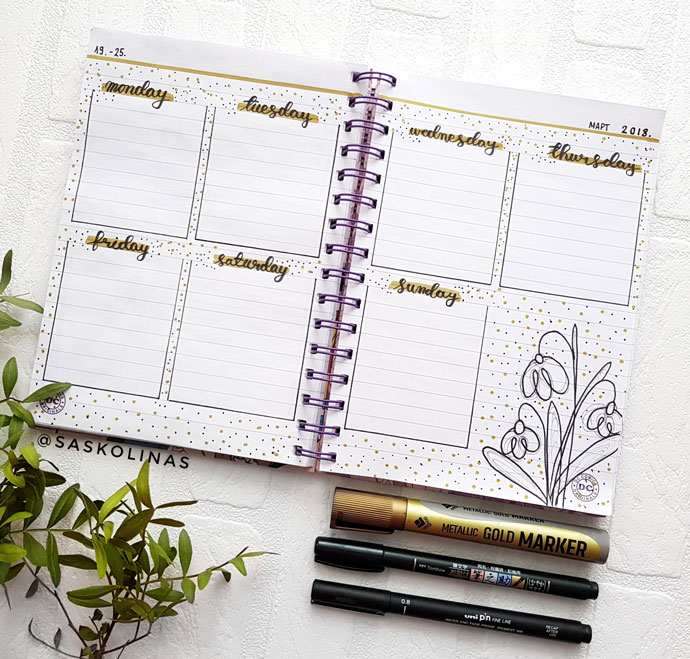
6 – Mirror
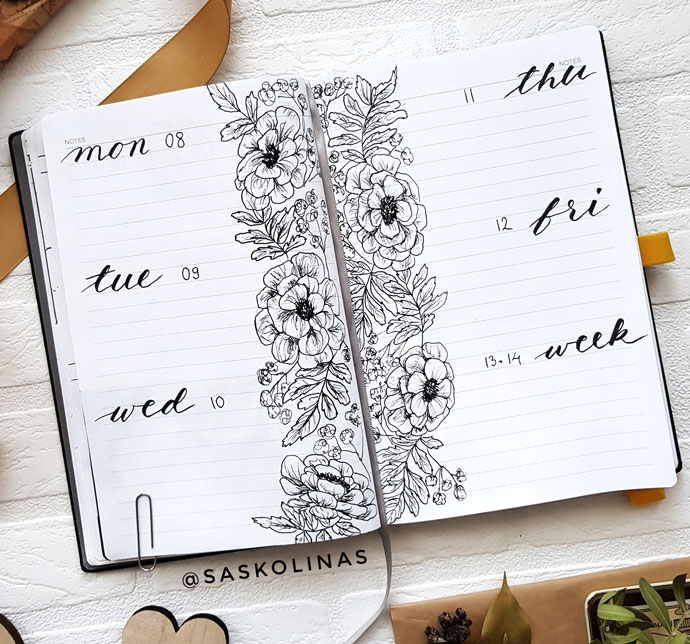
And lastly, this one is more picturesque, where you make titles for days of the week next to the edges of both pages. It’s just like the one with 3 rows, but more aesthetically pleasing to the eyes. If you like to draw or make collage with scrapbook paper and stickers you can get creative and add something to the very middle of the spread, it’ll look stunning!
Final Thoughts
These are my go-to layouts for my weekly pages. Which one is your favorite? Comment down and let me know! We all have our favorites and I can’t wait to hear about yours.
SUPPLIES USED:
- 0.2 uni pin fineliner
- Tombow Fudenosuke Soft brush pen
- Yellow marker + gold marker
- Pencil + eraser for sketching (optional)
- B5 notebook
xo, Saskolinas